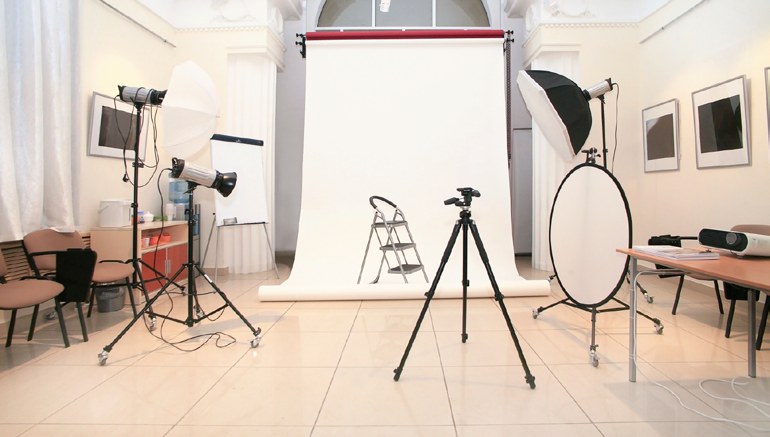
No, this article isn’t about bicycle safety, or attracting search planes upon becoming lost in the wilderness; it’s about using and shaping available and generated light in support of creating a more pleasing photograph.
Dude, That’s Harsh!
So in which situations are you likely to wish to employ a reflector? There are several; however, most common among them would definitely be outdoor portraiture. When you’re shooting outside, you often run into the difficulty of harsh shadows falling upon your subject due to bright sunlight. While the weather might be lovely, your photos won’t be if they feature heavy shadow beneath your model’s eyes, nose, and chin.
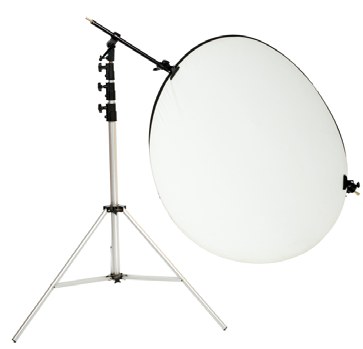
So what to do? Reflectors to the rescue! There are a wide variety of reflectors available; however, the most frequently employed feature surfaces of either gold, silver, or white. Each has their particular specialty: gold is used to add warmth to portraits; silver produces a harsher light (similar to flash), which is great for adding specular highlights in your subject’s eyes particularly on duller days; and white yields a nice diffused light (similar to that you’d get from a soft-box), and is generally the most useful of the three. Typically, reflectors come in collapsible, easily transported discs which are designed with a different surface on each side, doubling their utility. Of course you’re not limited to commercially available options; and if you’re creative, you’ll find a number of items you can use in place of them, including foam core, poster board, metallic wrapping paper, and so forth.
In Action
Ok, fine. So how do you use a reflector to greatest effect? Well, the first thing to bear in mind is that they act just the same as a normal light source (such as a strobe), in that the closer they are placed to the subject, the softer the light. As this is very often the desired effect in portraiture, what you’ll want to do is place the reflector as close to your subject’s face as possible, without it encroaching upon your frame. Angle it in such a manner as to be directly opposite your light source, adjusting slightly to achieve nice fill light, without washing your model out and losing definition (generally not a problem unless your source is very strong).
But what if you are alone? Not all of us have access to assistants, so you may have difficulties in maintaining your reflector’s orientation. Certainly, you may employ tripods and c-stands to assist in this regard, but this means you’re carrying around a bunch of extra crap that you mightn’t otherwise require. The simplest solution to this dilemma is to have your subject hold the reflector for you! Angle and position the device for them while they are holding the opposite side, and have them freeze in that position while you take the shot. An unfortunate side-effect of utilizing this technique however, is the tendency of models to be concentrating more on holding the reflector than looking good for the shot or the inverse, letting your new light source drift while they are intent on providing a lovely smile.
Alternatively, you can use camera bags, low walls, tree stumps, whatever you discover nearby that can provide a stable support for your reflector. Better still, by use of a tripod (or bean bag, or whatever camera support you can come up with using options readily at hand), you can employ your camera’s timer to enable you to approach your model and position the reflector yourself in advance of the shutter being activated. It’s helpful to put down a mark [generally gaffer’s tape, but you can use anything a rock, piece of bark, etc] in order to indicate where you should stand otherwise, you might find yourself accidentally in-frame; and while I’m certain you’re just as attractive as your model, that’s probably not what you’re after.
Working with natural light and reflectors as a sole means of supplementary illumination is challenging at best, as the light source is always changing and you have to be on your toes to ensure you capture what you’re after. Nobody said the universe was perfect but as Tony Horton says, “Just do your best, and forget the rest.”
Indoors
The effect of reflectors is often more subtle indoors, but definitely beneficial in dealing with both natural light and studio situations. When trying to soften the effect of Rembrandt lighting [see our article on single light studio techniques in issue Volume 2] on the shadow side, a white reflector is often called for, and can provide that little bit of extra oomph your portrait needs. This may indeed be the only supplementary light source required, when for instance, working with a window as your key light. In the studio, where light sources are more readily available, you mightn’t find as much utility from smallish reflectors, but large foam core ‘V-Flats’ and so forth are far more frequently employed.
Novel Uses
Photographers are known for their ability to think outside the box, and devise creative solutions to everyday problems they encounter in the environment. Here are some great ideas for using reflectors in unexpected ways:
Try using one as a working surface in dirty environments. This is great for swapping out lenses and placing props where otherwise they might become soiled or damaged. Make sure you have the white side up, as it is far less resistant to dirt than the metallic side.
Use one as a fan. Not only does this allow you to create that ‘windblown’ look in the absence of a mechanical device, but you can keep your model cool as well!
Try using it as a plain white background for headshots if you don’t have ready access to a real backdrop where you’re currently located.
Finally, you can use them to actually subtract light. If you use a black reflector you may not only utilize it to shade your model on one side (though more often you’d use a diffuser for this purpose, which allows a smaller amount of diffuse light to fall on your subject, essentially turning the sun into a soft-box), but in bright environments it also helps prevent light reflecting on to that side from other unexpected angles.
So, there you go. Now get out there and practice! While it may take a bit of experimentation and time before you become confident in their use, you’ll soon wonder how you ever did without your trusty reflector.