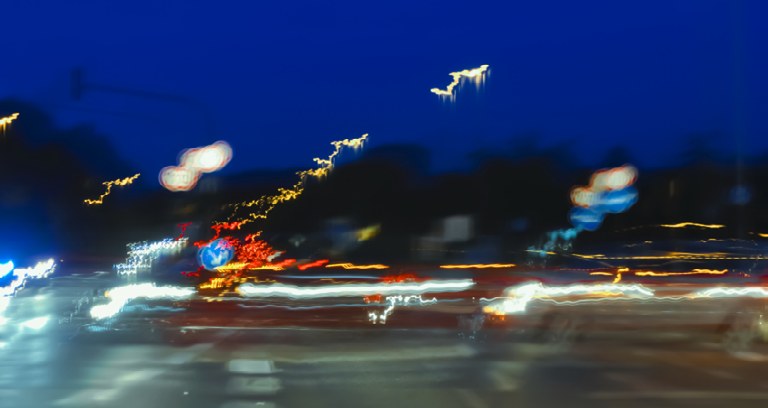
It seems inevitable: you frame the perfect shot, catching the action just right, and depress the shutter release… quickly chimp the photo on the rear LCD… ‘nailed it!’… only to discover upon loading the image up on your computer that the photo is blurry! A torrent of expletives ensues (at least among my ornery aspiring photog friends), and a once in a lifetime moment is consigned to the digital dustbin.
What Gives?
There are three primary factors responsible for image blur: blown focus, camera shake, and inadequate shutter speed. Let’s cover these each in turn, exploring the causes and detailing appropriate remedies you may apply to circumvent these difficulties.
Blown Focus
On the surface this one seems the most obvious; after all, a shot is either in focus or not, right? Well, not exactly. Something is generally in focus, just not necessarily the correct subject, or location on that subject. Novice photographers may often snap a portrait which at first seems fine, and yet upon detailed inspection, discover that ‘something’s not quite right’. What they mightn’t realize at first is that focal point for portraiture is crucial; and unless an unusual artistic decision has been made to the contrary, sharp focus should be maintained on the subject’s eyes.
This may sometimes be difficult to achieve due to the way most cameras determine focus, wherein areas of highest contrast get priority. This proves problematic when there are high contrast areas in-frame which don’t correspond to your desired focal point… particularly so should you be using a shallow depth of field. A typical example of this might be shooting at f/1.4 close in on a subject wearing glasses. The frame of the glasses grab focus leaving the eye behind slightly out.
So what to do? Well, if your subject is relatively stationary, you can always switch to manual focus and using your depth of field preview (assuming your camera has this feature), gauge whether your desired focal point is indeed in-focus. If the action is fast enough to preclude manual focus in an accurate manner, you may wish to employ your body’s best sensors (typically cross type) which are generally found clustered in the centre of your frame. Many bodies also feature modes that will employ multiple cross sensors in support of each other; failing this however, keep in mind that your camera will always focus best using the focal point located in the very centre of your viewfinder. So you might want to focus using this sensor, and recompose accordingly. Finally, you may wish to increase your depth of field in order to obtain a wider margin of safety around your desired focal point.
On my main body, I have the button in the centre of the multi-directional switch set to zoom to 100% at the focal point, which allows me to instantly evaluate whether I’ve indeed nailed it, or need to reshoot. This however doesn’t help if you’ve missed a shot that you can’t repeat… so how do you deal with that?
Some images are simply too far gone in terms of blown focus and are destined to be deleted. If you’ve narrowly missed however, there are a few things you can do to save the photograph. First, when sharpening the overall image in post, you can choose a significant amount, perhaps nearing 100%, and use a larger radius, say 1.6, which may prove enough to create a usable image. Using a non-destructive RAW editor like Adobe Lightroom or Apple Aperture will allow you to play with the sharpening settings as much as you like without ruining the underlying image. Further, you may elect to undertake area specific sharpening activities within a pixel-level editor like Adobe Photoshop, or by using an adjustment brush set to sharpening in Lightroom, paying particular attention to the eyes. Finally, reducing the size of an image utilizing the bicubic sharper method will have the effect of sharpening the entire image up. Of course this is a last resort, given you really don’t want to reduce the resolution of your files if you can help it.
Camera Shake
While you might expect to experience it having just consumed an entire pot of coffee, or perhaps bathing with your toaster, camera shake will still ruin photos in even the most steady of hands, should you not dial your settings in appropriately. Even nearly imperceptible motions on the part of the photographer will result in image blur should you not solve the focal length versus shutter speed equation in advance of taking the shot… particularly in dimly lit conditions.
Fortunately, this equation doesn’t require a doctorate in physics to comprehend. In full-frame cameras it is simply this: ensure your shutter speed at least equals, or (preferably) exceeds your focal length. For example, if you are shooting at 50mm, make sure your shutter speed is at least 1/50th of a second. This rule however gets a little more complicated in non-full-frame cameras that utilize smaller sensors. You have to take into account the ‘crop factor’ inherent to your particular unit — 1.5 in most APS-C sensors, though 1.6 in Canon’s. So in Nikon’s case, in the above example, you’d multiply 50×1.5 and require a shutter speed of at least 1/75 of a second.
Another wrinkle in the above concerns high megapixel sensors which are more sensitive to the effects of camera shake due to the increased number of photosites crammed into the same physical area as cameras with significantly less of them. It’s a good idea to treat these in the same manner as you would a cropped sensor, even if they are full-frame. All this aside, ultimately, you want as high a shutter speed as you can achieve which will provide a comfortable safety margin above the calculated minimum, while still accomplishing your artistic objectives in terms of depth of field and framing.
So the next obvious question would be ‘how do I achieve this?’. Well you have several options to reduce camera shake, each typically involving tradeoffs. You have only so many photons to work with, and if your shutter speed is too low as a result, you can do one of five things:
- Increase the number of photons in the scene — i.e. increase the amount of available light by way of flash or some other means. The tradeoff here is the potential for loss of that special ambiance seemingly reserved for natural light captures. A proficient photographer will however be able to balance natural and artificial light in such a manner as to significantly reduce this effect. Often, adding light is the best solution to camera shake.
- Widen your aperture — i.e. if you are shooting at f/5, perhaps move to f/4 or f/3.2. This will definitely increase your shutter speed; however, the tradeoff is the loss of depth of field… which may or may not be acceptable, depending on your subject matter. I tend to use this option far more often than flash, as I definitely prefer working with natural light — your mileage may vary.
- Increase your ISO. This has a similar effect to turning up the volume knob on an audio amplifier — with similar negative effects should you go too far: noise. In an audio setting this is expressed in distortion; while in photography your images become grainier as you push your ISO further up the scale. Fortunately, in recent years, the major camera manufacturers have made significant gains in handling of noise at high ISOs, and so this is often the go-to solution for photographers who don’t want to compromise on depth of field or natural light. You can however, definitely go too far with ISO; and we’ve seen many a potentially great image ruined by uncontrolled noise, when another solution might have been more wisely selected.
- Use a tripod! You can often get away with significantly lower shutter speeds by use of a good camera support. Tripods in conjunction with the ‘mirror up’ setting, and a cable will enable the photographer to eliminate many of the inherent difficulties of shutter speed — particularly with longer lenses. Of course the tradeoff here is mobility; though this may be partially mitigated by instead using a monopod, which has its own negative in that it’s not as stable as a tripod.
- Utilize lenses with built-in image stabilization or vibration reduction (Canon and Nikon IS and VR respectively). With varying degrees of efficacy, these lenses are designed to assist the photographer in conditions that require a normally lower than desired shutter speed for the focal length employed. These lenses are indeed effective in pushing the limits, but you’re completely trusting in the technology here; and if you do this exclusively, you’re bound to run into problems eventually.
Inadequate Shutter Speed
Often some elements of your image are blur free, while others exhibit classic motion blur. Certainly this may be an artistic choice made by the photographer; though more often than not, it’s simply an error resulting from inadequate shutter speed selection. Frequently this occurs in low light situations; however this is covered in the above. What we are concerning ourselves with here are scenarios wherein it’s the action itself that is blurred, despite there being adequate light in the scene to capture it, should you have only set your shutter speed correctly. The following are some typical situations in which this might occur, and the correct settings to use in each.
- For fast moving cars or motorcycles, you’ll generally want to use a shutter speed of around 1/1000th of a second. This will freeze the motion, and provide crisp results.
- 1/1000th of a second is also a good base shutter speed for capturing animals which may move unpredictably.
- For birds in flight, you’ll probably want to go a little higher at 1/1200th of a second or more, unless you are purposely attempting to capture wing blur. Note: if you want to shoot a humming bird, you probably won’t be able to freeze its wings without using a flash.
- Mountain bikes require at least 1/500th of a second.
- Waves can be captured as low as 1/250th, though you may wish to go higher should you hope to freeze spray from them crashing on rocks.
- With most sports, you’re ok at about 1/1000th of a second; however, should you wish to capture the instant a baseball makes contact with a bat for instance, you’re going to want to use 1/5000th or more!
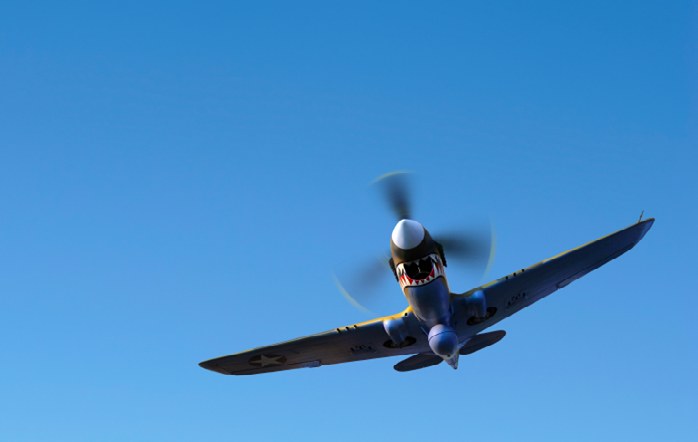
- Sometimes you actually want motion blur in your images, which otherwise would look less professional. A good example of this would be airplanes or helicopters. For these, you are going to want to use a shutter speed of no higher than 1/250th of a second for propeller driven airplanes, while for helicopters you’ll want to go even lower, depending on the number of blades they have: for three or more 1/125th, and for a two bladed craft, 1/60th.
Finally
Whew! That was a lot to digest; however, if you regularly employ the strategies outlined above, eventually they’ll become second nature, and your photographs will far less likely become digital refuse, destined for the recycle bin.