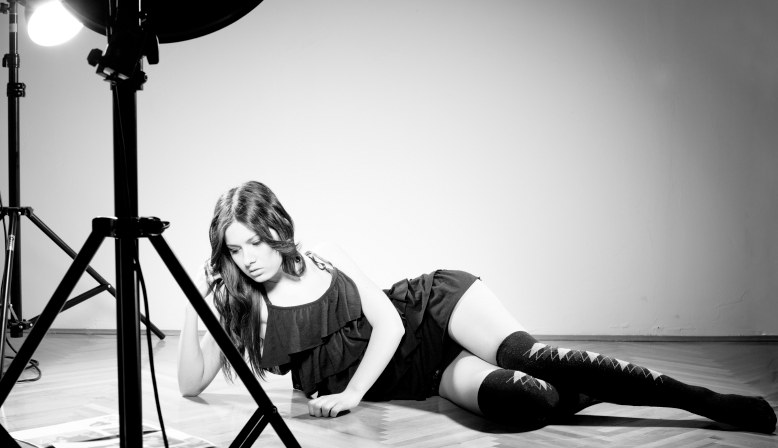
As you’ll recall, last time we took a look at the gear required to get you up and running with a basic studio setup. We focused on a single light configuration, owing to the fact that, as we stated in the previous article, most studio work involves recreating the natural environment in a controlled setting — and this means there is but one light source: the sun. This time around, we’re going to cover some basic ideas and techniques which are fundamental to a single light studio scenario.
Key Concepts
When thinking about lighting a portrait, there are basically three ways you can go in terms of intensity. Balanced lighting is a standard setup where all elements within the scene are given more or less the same emphasis in terms of illumination — this is in general what your camera tries to do by default in its automatic modes. We won’t go much into this, as it requires little explanation; most snapshots exhibit this style of lighting very well.
The two additional ways of lighting a subject are ‘high key’ and ‘low key’ respectively. Now we may think we have a notion of what low key is, but high key? Both are relatively simple to explain. ‘Key’ in both instances refers to the key light, or the light which is providing the main source of illumination on the subject. Other sources of light being bounced off a reflector for example in the single light setup are referred to as fill, as they have the effect of filling in shadows created on the subject by the key light as desired.
High key shots are those in which we throw a great deal of light on the subject in an effort to minimize contrast and shadows. Ideally, you don’t want to ‘blow out’ the highlights by overexposing the subject and rendering them as pure white; however, in some shots, that’s just what you want to go for — it really depends on the effect you are trying to create. In art there are no rules, just guidelines; though it certainly helps the novice to master their technique within them before straying outside.
Low key photographs on the other hand, feature very contrasty subjects with a high degree of shadow, providing drama and visual tension within the scene. The subject is less well visually defined by their features, but more by way of how the light interacts with them in terms of the interplay of light and shadow. Another term for this you may come across is Chiaroscuro.
High key and low key images also have the opposite effect on the viewer in reference to the mood they create. The former has the quality of light, airy, fun, and happy; while the latter is dark, moody, dramatic, and sometimes unsettling. As a result, you’ll definitely want to decide, should you choose to stray from balanced lighting, what your artistic objective will be for the shot. If you are shooting a toothpaste ad, you probably don’t want to go with a low key image; however if you are taking a cover shot of a sleuth for a mystery novel, high key generally wouldn’t be the way to go.
Light Moves
Another thing to bear in mind when working with light, is that the source’s distance relative to the subject affects its quality. When a strobe or hot light is placed closer to the subject, the effect is softer, shadows are decreased, and highlights are less sharp, while the further away you bring it has the opposite effect, allowing you to create dramatic hard shadows and crisp highlights if that is your objective. Reduced highlights are particularly important when you are photographing subjects that have oily or damp skin, or items that have very reflective surfaces — an apple would be a good example.
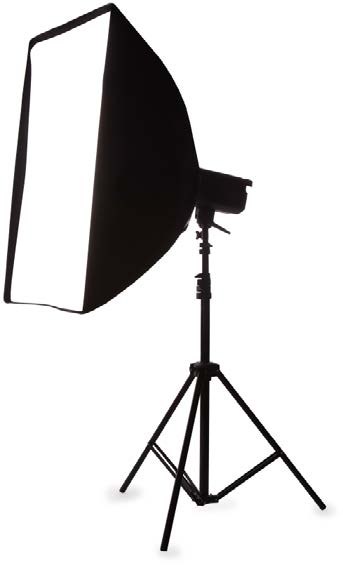
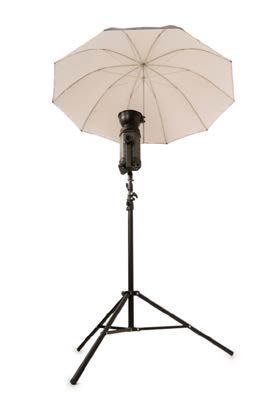
Additionally, the size of the light source has the same effect; i.e. larger lights create softer shadows and reduced contrast. This isn’t how many watts you throw at a subject, but the physical size of the light modifier (e.g. soft box, or umbrella) that is the determining factor. As a result, many people recommend starting off by purchasing a very large soft box — but you need to keep in mind the space you have to work with in order to obtain maximum flexibility with the size you’ve selected.
While in actuality our single light studio has only one electric source, we’ll also be using a reflector to fill in shadows created by our key; so technically, our studio can be said to have two lights. What we use a reflector for is to soften the effects of the key by reducing shadows on the opposing side by bouncing some of the main light’s rays back at the subject from an alternative angle. This is especially useful if your key is smallish and creates harsher shadows than you’d like, but you’ll find a reflector handy in all kinds of situations.
A white reflector is generally best; and though it reflects less efficiently than silver, it is also not prone to creating its own shadows, which may occur as a result of imperfections or wrinkles in the surface of the silver or gold varieties.
Angling for a Better Image
Ok, now that we’ve got some of the basics out of the way, let’s get into some practical tips on how to setup your light. One of the first head-scratchers novice studio photographers encounter in light placement is the question of at what height do you put it. Generally, unless you want to do halloween or horror lighting, you are going to want your lights above your subject, and as a starting place angled down at 45 degrees. I say as a starting place, because there are a couple of things that you are going to take into account once you have your subject in-frame.
First off, catch lights (highlights in the eyes resulting from the light reflected from your strobe) typically work best at either the 11 o’clock or 1 o’clock positions. Position your light up or down to achieve this objective in your subject’s eyes. Further, for people that have prominent brows, a dark shadow may result from having your light too high which obscures the eyes and makes them appear dull and lifeless. Having adequate light fall on the eyes is more important than the positioning of catch lights within them.
This brings us to two separate types of lighting which are subject specific and are designed to accentuate positive features, while de-emphasizing those which are seen as less desirable.
Broad Lighting
No, this isn’t necessarily about how to capture that brassy redhead of your acquaintance in her best light; broad in this context refers to the surface your light falls upon: in this case, the side of the face closest to the camera. This type of lighting works best for those which have narrow faces and fine features as it tends to fill things out a little, making for a more flattering portrait.
Using the guidelines established above for light height, place the key in such a manner as to illuminate the camera side of your subject while leaving the far side in shadow. To lessen the drama created by this effect (which you’ll generally want to do with women in particular), position your reflector opposite in such a manner as to fill in some of those shadows. Easy. Effective.
Short (Narrow) Lighting
The exact opposite of broad lighting is short, sometimes referred to as narrow lighting. It works best in scenarios where your subject has a very round or chubby face as it tends to narrow these features and again provide for more flattering portraiture. To achieve this effect, you’ll want to light the side of the face that is furthest from the camera, while leaving the closer in more shadow. Again, you’ll want to fill in the shadows a little via judicious employment of your reflector.
Butterfly Lighting
For those with more average, oval faces, a technique known as butterfly lighting often looks glamourous and works rather well. This is done by positioning the light directly in front of the subject, fairly high above them in order to create a shadow directly below and in-line with their nose. This shadow forms the shape of a butterfly and is from whence the technique derives its name. A reflector generally isn’t required as your positioning of the light should make it fall evenly across your subject’s face. Butterfly lighting typically works best with women who have longer hair, as with men it tends to emphasize the ears which is generally not desirable.
Rembrandt Lighting
The Dutch genius after whom this technique is named certainly knew a thing or two about chiaroscuro… he was an absolute master of its application. Rembrandt’s style was very dramatic and moody. It essentially consists of low key lighting where the shadowed side contains an inverted triangle of light directly under the eye on the upper cheek. This triangular figure is the defining characteristic of Rembrandt lighting and is formed by having the shadow from the nose and the cheekbone intersect. Generally this style works best in a short lighting scenario; however, Rembrandt himself used it in broad light as well.
To achieve this effect, you want to position your light in what’s known as a 45/45 setup. That is at 45 degrees to the camera axis and your subject’s face as well as pointing at a 45 degree angle downwards. With the subject remaining still, move the light until you see the characteristic inverted triangular figure in the correct placement on their cheek. Fill is less vital here, as drama is what you are going for; however, in some cases you may find this treatment too harsh, and a little fill will certainly soften it up.
Edge Lighting
Finally, to complete our summary of single light techniques, we have what’s known as edge lighting. This style differs significantly from the others in that the key is lowered so that it is nearly directly pointed at the subject’s face at 90 degrees to their nose and at a very slight angle downwards (to taste depending on the contour of your subject’s face). This will create a shadow line down the centre of the face with half being in light and the remainder in shadow.
This can create some very dramatic effects; however, for most people you will want to fill in the shadowed side with your reflector as the darkness found there is often quite striking and stark. While you want to fill in the shadowed area a little, you may wish to back off the reflector a bit, as you don’t want to overwhelm your effect. After all, there is little point in employing edge lighting if you aren’t going for something dramatic!
Finally!
Well, that certainly was a lot of ground to cover in our second instalment of Studio Secrets. We hope you found it instructive and useful. Now get out there and try out some of the techniques illustrated above. Have fun while you do it — you’re going to make mistakes at first, but fortunately pixels are free! Next time we’ll start adding some more lights to our studio, and examining things like gels and snoots — what’s a snoot?! You’ll have to check next issue to find out!